 $25 OFF AC REPAIR | $139 MAINTENANCE

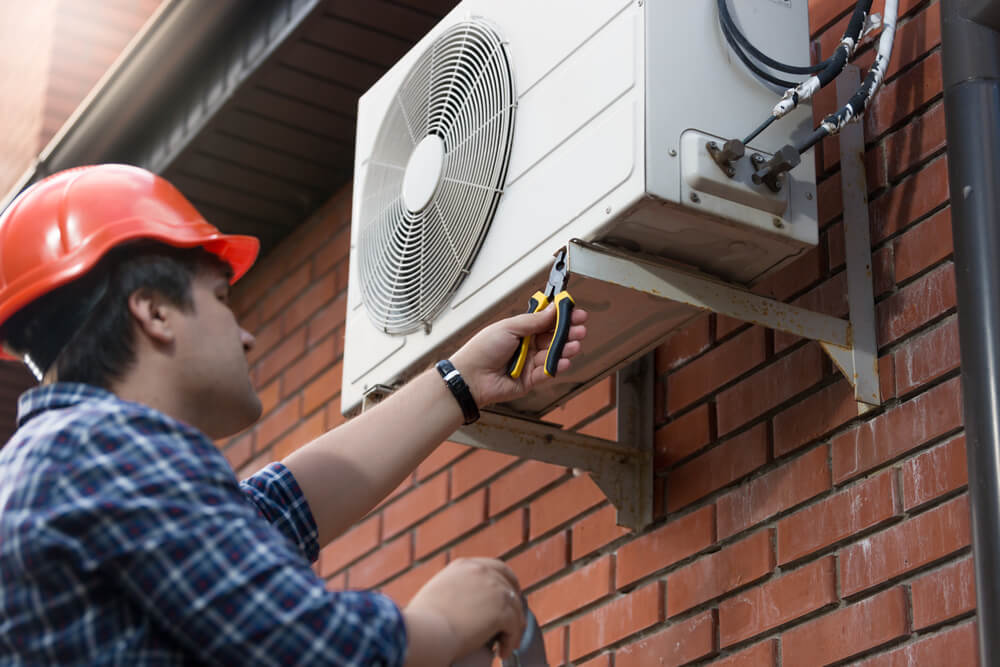
Medicine Hat HVAC Services
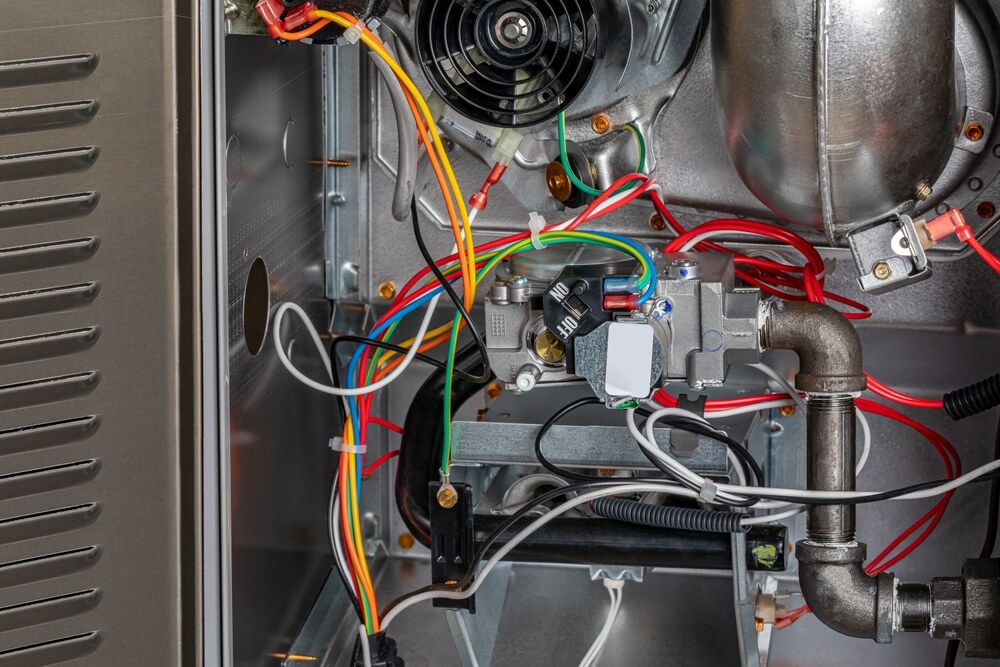
Need help with your furnace or air conditioner in Medicine Hat? Our skilled HVAC technicians handle everything from quick repairs to complete system installations, offering Medicine Hat residents a convenient and trusted heating and cooling service provider.

Why Choose Us?
Professional HVAC Support in Medicine Hat
Homeowners in Medicine Hat count on One Stop HVAC for reliable heating and cooling services. Our experienced technicians ensure precise troubleshooting and high-quality repairs to keep your HVAC system running efficiently. Choosing our team provides:
- HVAC services available 7 days a week
- Experienced and knowledgeable technicians
- Customized repair and installation plans
- Trusted partnerships with leading HVAC brands
Our Services in Medicine Hat
Heating and Cooling Services


Service Availability
7 Days a Week

Top Rated
On Google

Licensed
Techs & Gasfitters

Served Hundreds Of
Local Residents

Great Prices
Always!

Get Your Free
Estimate Today
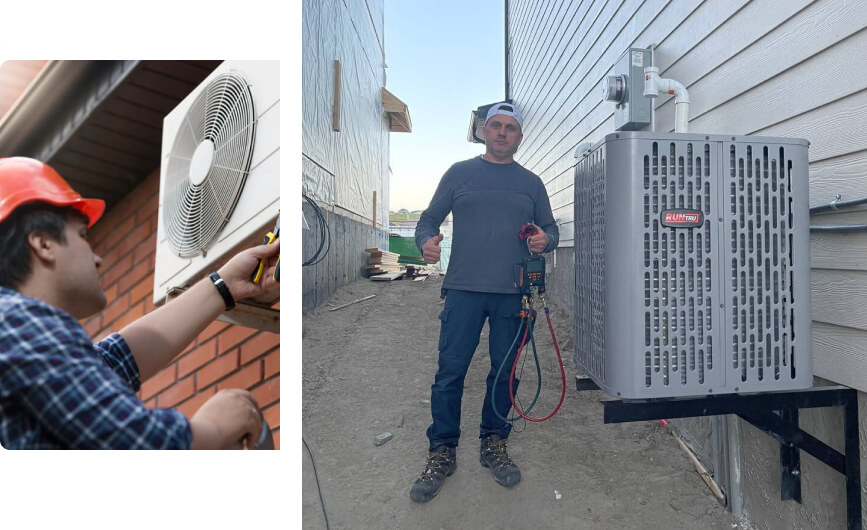
Your Trusted Partner
24/7 HVAC Appointment Availability
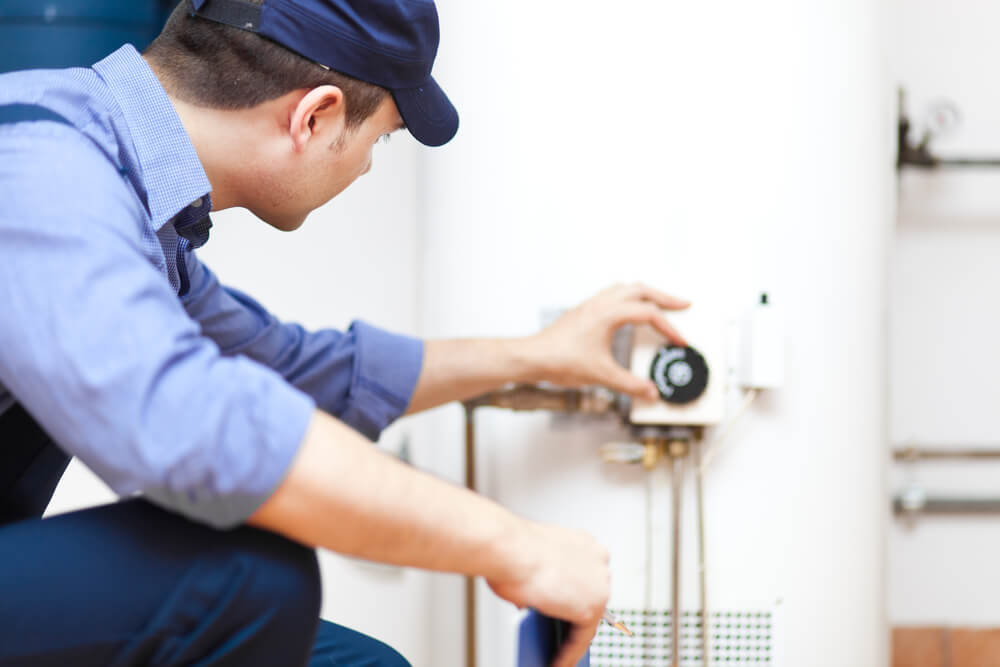
At One Stop HVAC, we understand that heating and cooling problems can occur at any time. That’s why we provide emergency appointment availability for residents in Medicine Hat.
Our experienced technicians focus on efficient repairs and reliable system installations, helping restore comfort and ensure your HVAC system runs smoothly again.

Hot Deals on Heating and Cooling
Grab Your Exclusive Coupon Now

ONLY $139
AC INSPECTION
Safety & Maintenance Inspection.

ONLY $139
FURNACE INSPECTION
Safety & Maintenance Inspection.

10% OFF
SENIORS DISCOUNT
We offer seniors 10% off on all labour.
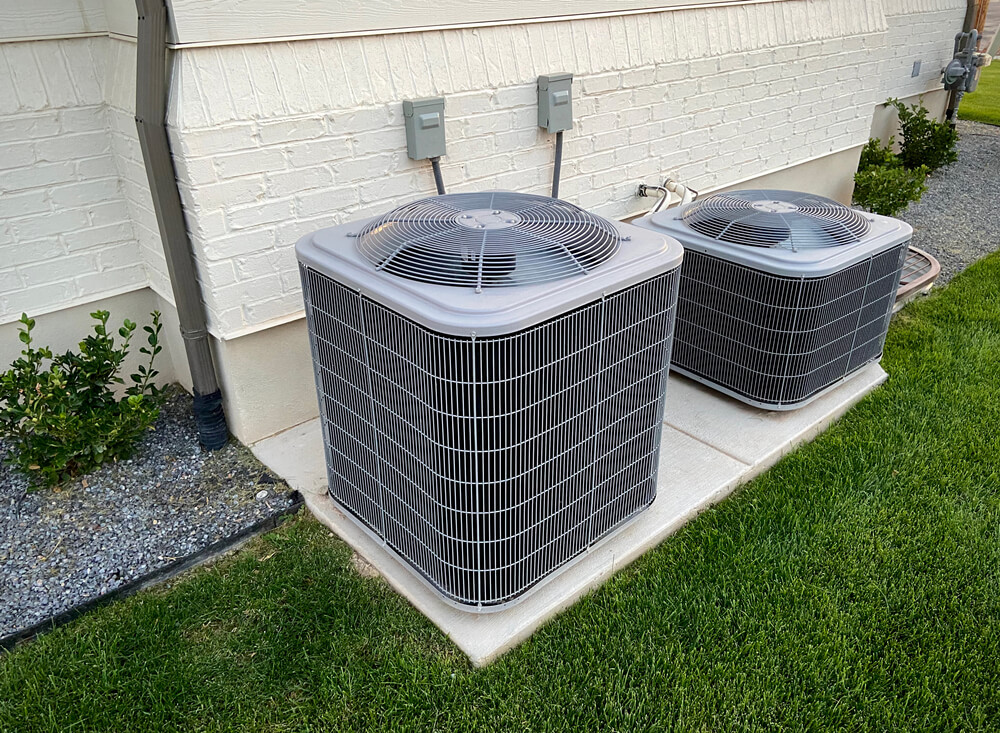
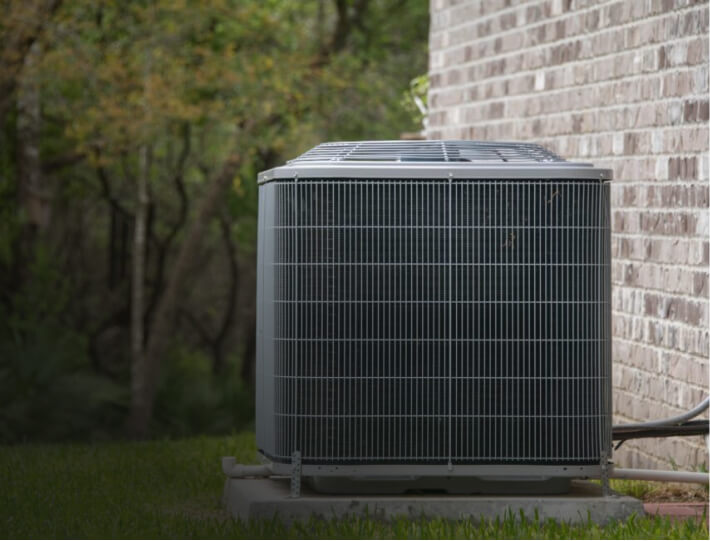
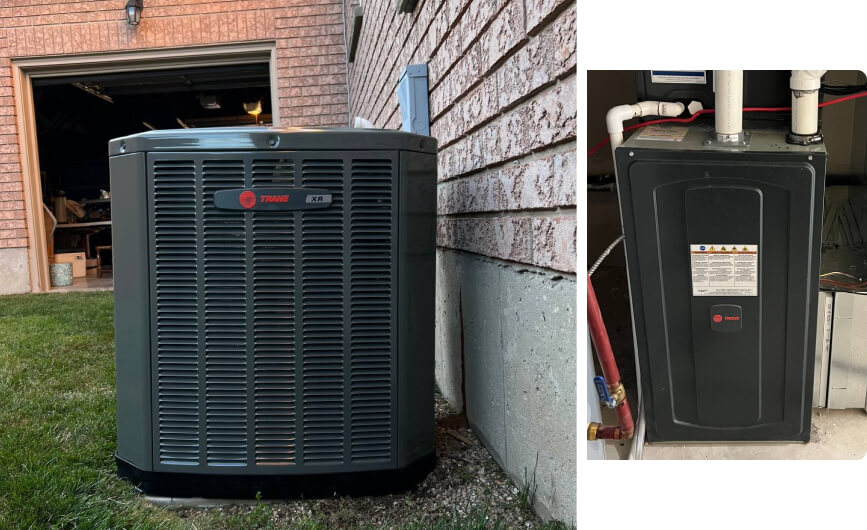
Air Conditioning Installation Medicine Hat
Choosing professional air conditioning installation in Medicine Hat ensures that your cooling system operates efficiently and reliably throughout the summer. Our HVAC specialists install modern AC systems designed to provide balanced airflow, energy efficiency, and long-term performance.
We work with a wide range of trusted air conditioner manufacturers and help homeowners select the right cooling solution for their property.
How much should I expect to pay for a new AC installation?
The typical cost of installing a new air conditioning system in Medicine Hat ranges from $4,000 to $8,500. The final price will depend on factors such as equipment type, home size, and the complexity of the installation.
Higher efficiency systems, larger homes, or installations that require ductwork upgrades may increase the total cost. A professional assessment helps determine the most suitable system for your home.
How do professionals determine the correct AC size?
HVAC technicians calculate the required cooling capacity based on the square footage of the space and other factors such as insulation and sunlight exposure. Capacity is measured in BTUs (British Thermal Units).
| Room Size | Recommended BTU |
| 100–250 sq ft | 5000 |
| 250–400 sq ft | 8000–9000 |
| 400–700 sq ft | 10000–14000 |
| 700–1200 sq ft | 18000–21000 |
| 1200–1500 sq ft | 23000–24000 |
Are permits required for installing a new AC system?
In many municipalities, installing HVAC equipment may require approval to ensure compliance with building codes. Local regulations may also determine where outdoor units can be placed on the property.
What should I do before AC installation day?
Before installation, ensure the area where the system will be installed is accessible and free of obstacles. Clearing pathways allows technicians to safely transport equipment and complete the installation efficiently.
How long does a standard AC installation take?
A typical replacement of an existing AC unit may take approximately 4–8 hours. If additional work such as duct installation or electrical upgrades is required, the project may take longer.
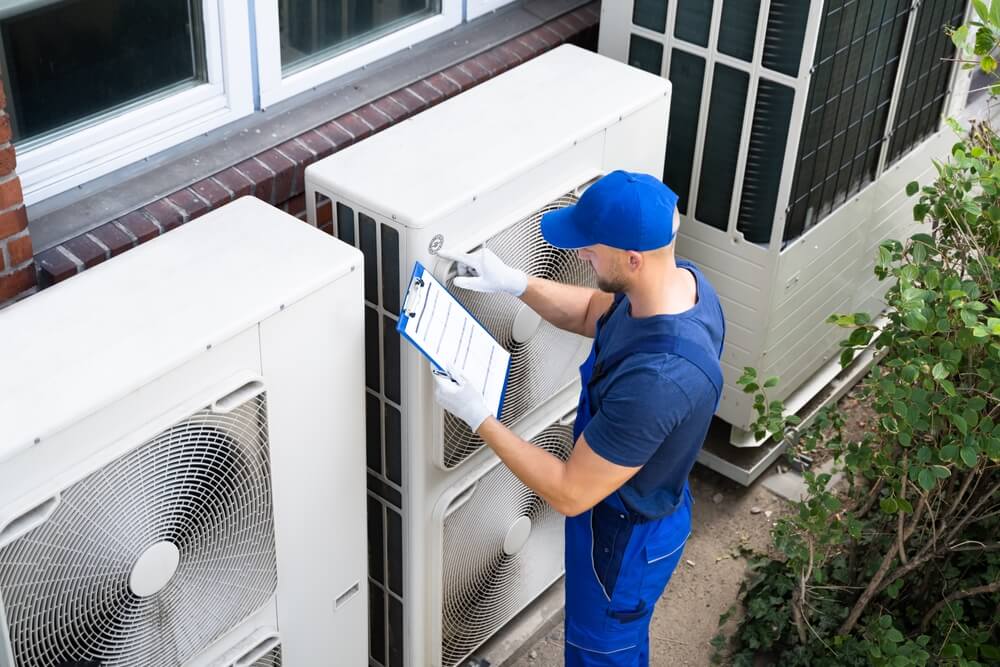
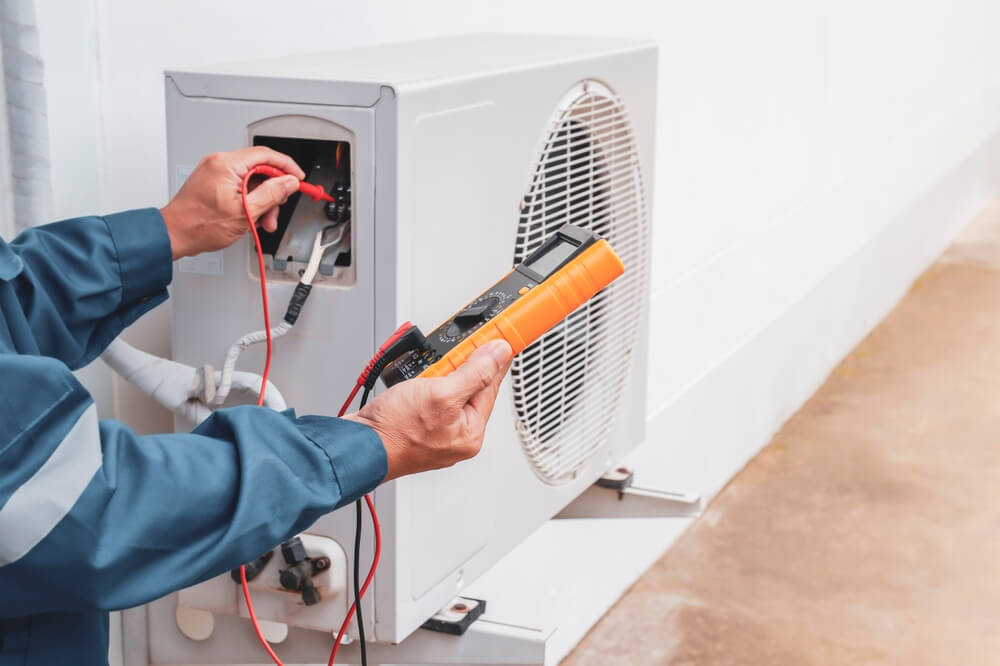
Air Conditioning Repair Medicine Hat
With a team of licensed technicians well-versed in the complexities of AC repairs in Medicine Hat, we bring years of experience to the table. Whether it’s providing on-site solutions or diligently returning to tackle more challenging repairs, we’ve got you covered. Rest assured, our 24/7 AC repair services in Medicine Hat are always by your side!
Should I repair or replace my air conditioning unit?
Making the decision between repairing or replacing your HVAC system is a common dilemma for homeowners. While each situation is unique, we’ve compiled a list of essential factors to consider that will guide you in making an informed choice.
Age of Your Unit: Consider the age of your air conditioning unit. Typically, air conditioners have a lifespan of around fifteen to twenty years with proper maintenance. If your AC unit is approaching or has already exceeded this range, it may be more cost-effective and practical to invest in a new unit rather than spending significant amounts on frequent repairs.
Current Efficiency: Evaluate the efficiency of your existing unit. Older units tend to be less efficient and may result in higher energy bills. Air conditioner efficiency is rated by SEER (Seasonal Energy Efficiency Ratio), and upgrading to a higher SEER-rated model can lead to significant energy savings in the long run.
Humidity Levels: Assess the humidity levels in your home. Properly sized and functioning air conditioning units play a crucial role in maintaining optimal humidity levels indoors. An incorrectly sized or underperforming AC system may lead to discomfort and inadequate humidity control.
Noise Level: Take note of the noise level of your current unit. Noisy air conditioners can be disruptive and bothersome, particularly if the unit is close to living spaces or bedrooms. Upgrading to a newer model can significantly reduce noise levels and enhance your overall comfort.
Repair Costs: Factor in the cost of repairs. Minor repairs may be cost-effective, but if your AC unit experiences major component failures, it might be more economical to replace the entire system. Compare the repair costs with the investment in a new, more efficient unit to determine the best long-term solution.
In conclusion, when deciding whether to repair or replace your air conditioning unit, it’s essential to consider its age, efficiency, humidity control, noise level, and repair costs. Consulting with a professional One Stop HVAC technician can provide valuable insights and help you make the best choice for your home comfort and budget.
How often should I have my AC unit serviced?
It is recommended to have your AC unit serviced once a year. Regardless of the type of air conditioning equipment you have, regular inspection, cleaning, and servicing are essential to ensure optimal performance and efficiency.
Regular AC maintenance offers several benefits, with one of the most significant being cost savings. By having your unit serviced regularly, potential issues can be detected and addressed early, preventing them from becoming larger and more expensive problems later on.
An unserviced AC unit can lose up to 5% efficiency each year and consume more energy, leading to higher energy bills. Additionally, the lack of routine maintenance puts extra strain on the system, potentially reducing its lifespan by as much as 50%. Considering that the cost of a new air conditioner can be expensive, investing in regular servicing is a wise and cost-effective choice for any homeowner.
Why is my air conditioning unit not blowing out cold air?
There are several potential reasons for your AC unit not blowing cold air, some of which can be resolved easily, while others require professional assistance. Here are common issues to check and how to address them:
Leaking or Low Refrigerant: If your central AC isn’t cooling properly, low refrigerant levels could be the culprit. A refrigerant leak not only affects cooling but also raises humidity levels in your home, making it feel warmer. Contact One Stop HVAC, who will be able to assist diagnose and fix refrigerant leaks.
Dirty or Clogged Filters: AC units can malfunction if the air filters are dirty or clogged. Change filters every three months, more frequently if you have pets. Clogged filters restrict airflow, potentially leading to more significant problems and faster wear of AC components.
Issues with Evaporator Coil or Condenser: Over time, coils can develop problems due to moisture, mildew, and freezing. One Stop HVAC technicians can handle coil maintenance and repairs.
Blocked or Clogged Registers/Vents: Blocked air registers or vents restrict airflow and hinder cooling. Inspect and clear any blockages in the ventilation system, including ductwork leaks.
Thermostat Issue: Ensure the thermostat is set to “cool” or “auto.” If the AC still doesn’t turn on, check the thermostat’s batteries or have it examined by an One Stop professional.
Why is my AC unit making strange noises?
If your AC unit is making unusual noises, it could be due to various reasons. Here are some common noises and their possible meanings:
Banging Noise: Loose or broken parts in the compressor or unbalanced indoor blower.
Clanking Noise: Indicates loose or broken parts inside the sealed unit or an unbalanced fan hitting other components.
Clicking Noise: Normal during start-up and shutdown, but ongoing clicking may suggest issues with fans, capacitor, electrical signals, or thermostat.
Buzzing Noise: Caused by loose parts, debris, failing fan motor, unbalanced fan blades, or other issues.
Squealing Noise: Mechanical or air pressure issue, such as a malfunctioning blower and fan.
Humming Noise: Usually not serious, but indicates something off inside the AC that may lead to maintenance issues.
Chattering/Rattling Noise: Sign of a deteriorating AC or clogging due to twigs or leaves; can be caused by a loose fan or damaged compressor.
Whistling Noise: Could indicate a refrigerant leak or high internal pressure in the compressor; requires immediate professional attention.
Pulsating Noise: Normal during AC operation, but if it’s loud and continuous, something may have come loose inside the unit.
Whirring Noise: Possible mechanical problems with indoor blower fan motor or faulty fan in either indoor or outdoor unit; seek professional assistance.
How often should you change the AC filter?
The frequency of AC filter changes depends on various factors. Consider the following questions before deciding when to replace your AC filter and always consult a professional for AC repair and service:
What type of AC filter do you use?
- Standard 1 to 3-inch air filters should be replaced every 30 to 60 days for allergy-free homes.
- If you suffer from light to moderate allergies, consider changing or replacing the filter every three weeks.
How is your home’s indoor air quality?
- Excellent, good, fair, or poor (e.g., someone smokes indoors).
- Strange smells from the AC system may indicate a need for a tune-up.
What type and number of pets do you have?
- Homes with pets may require more frequent filter changes.
- With multiple pets, consider changing filters every 20 to 45 days.
How many people live in your home?
- Larger households may benefit from more frequent air filter changes (every 20 to 45 days).
What is the level of outdoor air pollution around your house?
- Rural areas or vacation homes may have less air pollution.
- Construction projects or heavily-traveled roadways nearby may require filter changes every 30 to 60 days.

Furnace Installation Medicine Hat
At Medicine Hat, we deliver expert furnace installation services, using trusted furnace brands. Our goal is reliable, energy-efficient heating, optimized for your home layout and comfort needs.
How much does it cost to install new furnace?
Typical cost in Medicine Hat: $5,500–$8,500 for high-efficiency units. Variations depend on brand, model, and labor requirements.
- Home Size: Larger spaces need higher-capacity furnaces.
- Furnace Type & Brand: Features and AFUE efficiency affect price.
- Installation Complexity: Vent upgrades, old unit removal, home modifications.
- Additional: Fuel conversions, code compliance, relocation.
How do I determine what size furnace I need?
Heating capacity in BTU determines furnace size:
| Room Size | Required Heating Capacity (BTU) |
| 500 square feet | 12000 BTUs |
| 1000 square feet | 24000 BTUs |
| 1500 square feet | 36000 BTUs |
| 2000 square feet | 48000 BTUs |
| 2500 square feet | 60000 BTUs |
Do I need a permit for my new furnace?
Permits are mandatory in Medicine Hat. Guidelines:
- Max 1.0m into side yard
- Min 0.2m from property line
- 3.0m side setback if no alley and garage exists
How long does a furnace installation take?
4–8 hours on average. Factors include furnace complexity, ductwork, electrical/gas modifications, and home size.
How do I prepare for an furnace installation?
- Professional heating needs assessment
- Ductwork inspection & repair
- Clear installation path
- Consider programmable thermostat & air purification
- Be present during installation
- Plan preventive maintenance
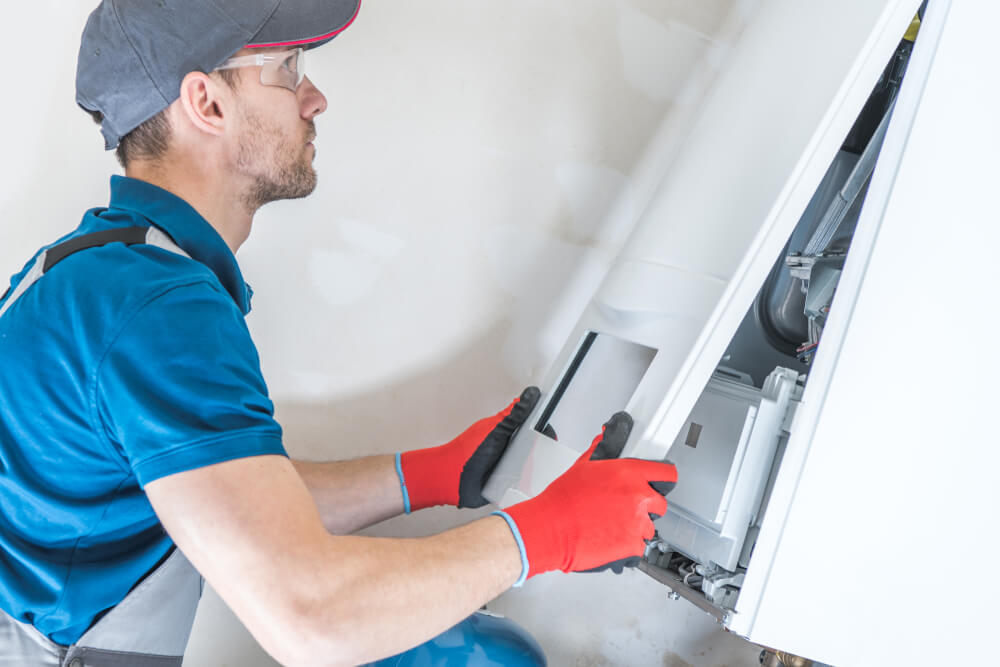
Furnace Repair Medicine Hat
We offer reliable furnace repairs in Medicine Hat that you can trust. Our commitment to your comfort extends around the clock, ensuring you’re never left in the heat. Day or night, One Stop HVAC stands by your side as your dedicated partner, offering efficient furnace repair solutions that prioritize long-term cost-effectiveness.
Should I repair or replace my furnace?
When deciding whether to repair or replace your furnace, consider the following factors:
Age of the Furnace: If your furnace is around 10 years old or older, it’s time to think about replacement, as older models may become less efficient and require more repairs.
Costly and Frequent Repairs: Constantly repairing your furnace can be costly and indicate underlying issues. It may be safer and more cost-effective to invest in a new furnace.
Rising Energy Bills and Inefficient Heating: Older furnaces may lose efficiency over time, leading to higher energy bills without providing sufficient heat. Upgrading to a newer, more efficient model can save money.
Declining Air Quality: An aging furnace may struggle to maintain proper air filtration and humidity control, resulting in dry, stuffy air. Consider upgrading your home’s air quality system when replacing the furnace.
Desire for Energy Efficiency: Upgrading to an energy-efficient furnace, like a heat pump, can lead to long-term savings on energy bills and improved indoor air quality.
If you have more questions about your furnace whether you should be repairing or replacing your furnace, then please don’t hesitate to contact one of our team members to schedule an on-site evaluation with one of our technicians.
How often should I have my furnace serviced?
We recommend scheduling furnace maintenance every 1-2 years (ideally once a year) and duct cleaning every 3 to 5 years for optimal system performance and indoor air quality.
Signs You Need Furnace Maintenance and Duct Cleaning:
Dirt & Debris Build-Up: If you notice excessive dirt around your vents or dirty air filters, it’s time for HVAC duct cleaning.
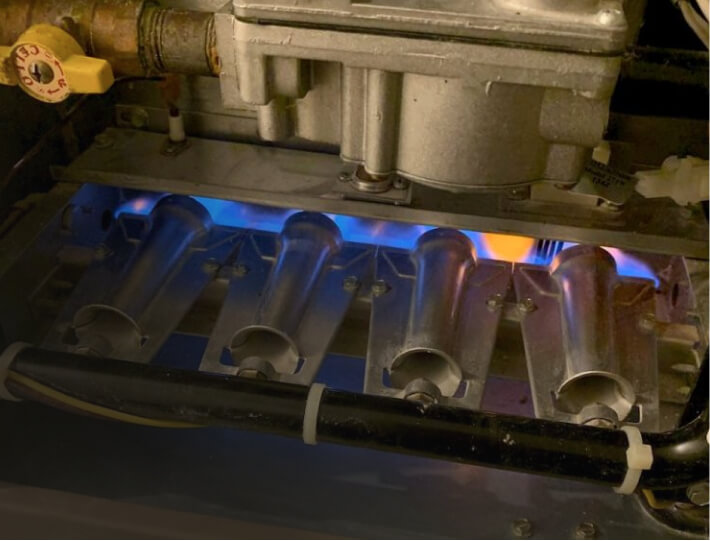
Yellow Furnace Flames: Orange or yellow flames indicate a dirty burner or flame sensor, requiring emergency furnace maintenance to prevent potential carbon monoxide leaks.
Frequent Furnace Repairs: Regular breakdowns may be a sign of a clogged system, and professional cleaning can save on repairs and extend the furnace’s lifespan.
Furnace Leaking Water: A clogged condensate line causing water leakage requires professional furnace cleaning.
Furnace Turns On & Off: “Short cycling” issues may stem from clogged filters or flame sensors, necessitating prompt furnace maintenance.
Furnace Blows Cold Air: Cold air from the furnace may be due to a blocked condensate line, requiring cleaning to restore proper heating.
High Energy Bill: A build-up of dust and grime can reduce energy efficiency, making regular furnace maintenance a cost-effective solution.
What is the average life expectancy of a furnace?
A well-maintained furnace typically lasts 15 to 20 years or even longer with annual maintenance and timely repairs. However, factors like proper sizing, installation quality, routine maintenance, and thermostat settings can significantly impact its lifespan. Here are the key factors affecting your furnace’s life:
Furnace Size: Ensure your furnace is appropriately sized for your home to prevent excessive cycling, which can cause wear and tear.
Poor Furnace Installation: Professional installation is vital to avoid issues with ductwork, drainage systems, and fuel lines.
Lack of Routine Maintenance: Neglecting maintenance leads to dirty buildup, restricted airflow, and inefficient heat transfer.
Thermostat Settings: Setting the thermostat at an energy-efficient temperature helps maintain the furnace’s lifespan by preventing excessive cycling.
How can I avoid furnace repairs?
Taking proactive measures can help prevent potential furnace repairs and ensure the longevity of your HVAC system. Here are essential steps for proper care and maintenance:
Replace/Clean Your Air Filter Regularly: Dirty air filters strain your system, increase heating/cooling costs, and reduce motor and coil life. Regularly changing/cleaning your air filter is crucial to prevent future issues.
Keep up with Preventative Maintenance: Regular HVAC tune-ups and air filter changes are essential for comfort and detecting small issues before they become significant problems. Enrolling in an annual preventative maintenance plan offers convenience and savings.
Watch Your Vents: Avoid closing off more than 20% of your home’s registers to maintain proper airflow and reduce strain on the system.
Keep the Area Around Your Furnace Clean: Avoid obstructing the furnace with objects like furniture, toys, or boxes, which can block return air grilles and hinder the furnace’s performance.
Call Us If You Suspect Something Is Wrong: Don’t ignore signs of potential issues like ignition problems, strange noises, or short cycling. Addressing problems promptly can prevent safety risks and more expensive repairs.
How often should I change the filter in my furnace?
It is recommended to check your furnace filter every 30 days and change it every 3 months. However, certain conditions in your home may require more frequent filter replacements. Here are some factors to consider:
Dust: If your indoor air is notably dusty, especially during home renovations or dusty activities, the filter may clog up faster, necessitating more frequent changes.
Pets: Pet fur and dander can accumulate in the filter, requiring more frequent replacements, especially if you have furry companions.
Allergies and Asthma: For households with allergy or asthma sufferers, it is crucial to maintain clean air quality. Changing the furnace filter more often can help improve indoor air and alleviate breathing difficulties.
Heavy HVAC Use: During extreme weather conditions when your heating or cooling system runs constantly, the filter may gather more debris, leading to increased clogging and the need for more frequent replacements.
Remember to inspect your furnace filter regularly and adjust the replacement schedule based on the conditions in your home to ensure optimal performance and indoor air quality.

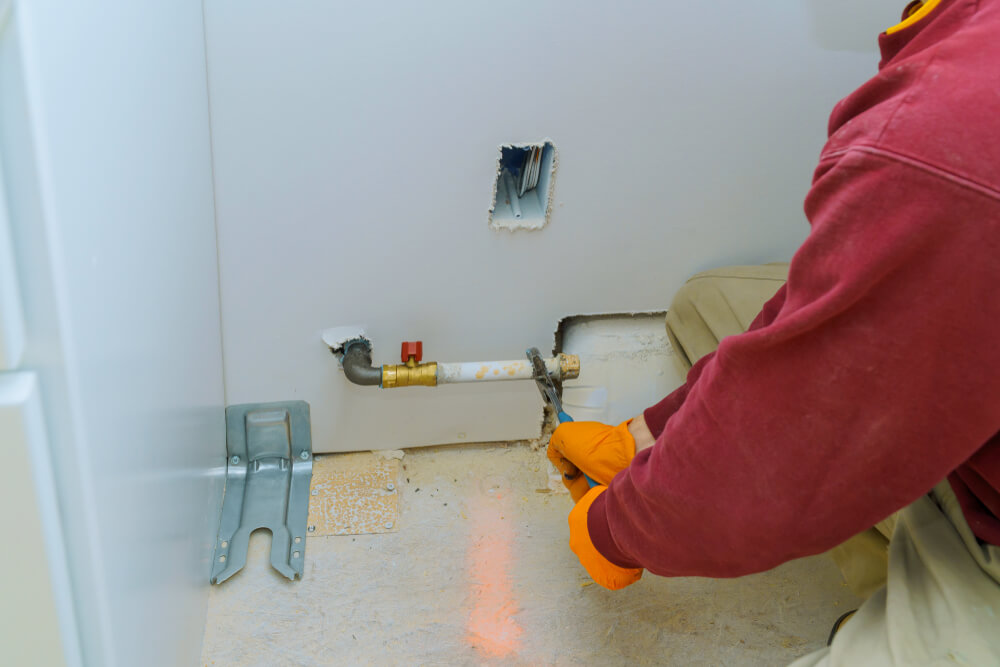
Water Heater Installation Medicine Hat
Our company has established a strong reputation as the go-to provider for water heater installation services in Medicine Hat. Through valuable partnerships with top water heater manufacturers, we ensure our clients receive the finest equipment available.
How much does it cost to install new water heater?
The cost of a water heater in Medicine Hat can vary depending on several factors, making it essential to consider various aspects when estimating the price. Typically the average range you can expect to pay for most hot water tanks falls between $2,400 and $3,500+.
To help you understand better, here are the main considerations to keep in mind:
Hot water tank type: The cost may vary based on the type of water heater you choose, such as traditional tank-style, tankless, heat pump, or solar-powered.
Brand selection: Different brands offer water heaters with varying features and efficiency levels, which can affect the price.
Tank size: The size of the water heater you need depends on your household’s hot water demands. Larger tanks generally cost more than smaller ones.
Warranty provided: Opting for a water heater with an extended warranty may add to the upfront cost but can offer peace of mind for future maintenance.
Installation inclusion: Some vendors include the installation cost in their pricing, while others may charge it separately.
Installation company choice: The installation company you select can impact the overall cost. Trusted and reputable HVAC companies might charge more for their services, but their expertise can ensure a smooth and efficient installation process.
To get an accurate estimate for your specific water heater needs, it’s best to reach out us at One Stop HVAC. We can organise a at-home evaluation to assess your water heater needs and provide an accurate quote.
What size of water heater do I need?
Determining the appropriate size for your water heater depends on your daily water consumption. To help you get an estimate, follow these general guidelines:
- For 1 to 2 people: 30-40 gallons
- For 2 to 3 people: 40-50 gallons
- For 3 to 4 people: 50-60 gallons
- For 5+ people: 60-80 gallons
Apart from tank capacity, it’s essential to consider the water heater’s first hour rating (FHR). The FHR indicates the amount of hot water the tank can produce in one hour when fully heated. It reflects the water heater’s efficiency in reheating water, which is crucial during peak usage times.
To estimate your peak hour usage and determine the ideal FHR, you can use the following figures for various activities:
- Bathing or showering (per person) – 20 gallons
- Washing hair (per person) – 6 gallons
- Washing hands (per person) – 2 gallons
- Washing dishes by hand – 6 gallons
- Shaving – 3 gallons
- Running dishwasher – 14 gallons
- Running clothes washer – 30 gallons
By considering your daily water needs and peak hour usage, you can select a water heater that meets or exceeds your hot water requirements efficiently. If you need a more precise calculation or assistance in choosing the right water heater size for your home, our HVAC experts are here to help!
Do I need a permit for my new water heater?
Yes, a plumbing permit is generally required for the installation of a new water heater in Medicine Hat. This permit is necessary for any plumbing system construction, extension, or alteration, which includes replacing water and sewer lines in or around the home. In some cases, the installation or replacement of a hot water tank may also necessitate a permit.
A plumbing permit is specifically required when:
- A plumbing system is constructed, extended, or altered.
- Water and sewer lines in or around the home are being replaced.
- Changes are made to the gas lines located upstream from the water heater shut off valve.
- The venting system undergoes modifications (e.g., changes in size and design).
- There is a switch in the type of water heater (e.g., transitioning from a natural draft water heater to a direct vent water heater).
However, it’s important to note that you don’t need a plumbing permit for certain situations, such as:
- Repairing a leak in a water distribution or drainage system.
- Replacing existing faucets and fixtures.
- Removing blockages in the drainage.
Always ensure compliance with local building codes and regulations before undertaking any water heater installation or related plumbing work to avoid potential issues.
How do I prepare for my water heater installation?
Here are the revised steps for a water heater installation to ensure a smooth and efficient process:
To ensure a smooth and efficient water heater installation, follow these steps:
Assess Your Hot Water Needs: Begin by consulting a professional to evaluate your household’s hot water requirements and determine the best-suited water heater options.
Inspect Existing Plumbing System: Have your plumbing system thoroughly inspected and any necessary repairs made to optimize the new water heater’s performance.
Clear Pathway to Water Heater: Ensure that there is sufficient space and remove any obstacles along the pathway to facilitate easy water heater replacement.
Consider a Programmable Thermostat: Enhance energy efficiency and convenience by considering the installation of a programmable thermostat that allows you to control water temperatures remotely.
Explore Water Quality Improvements: Enhance the quality of your hot water by considering the installation of additional systems like water purifiers or softeners.
Be Informed About Installation Timeline: Understand that the installation process may take several hours or even a day, and be available during all phases to address any concerns.
Set Up a Maintenance Plan: Inquire about a preventive maintenance plan for your water heater to ensure its optimal performance throughout its lifespan.
By following these guidelines, you can be well-prepared for your water heater installation and enjoy a reliable supply of hot water for your comfort and convenience.
How long does it take to install a new water heater?
Here’s what to expect on the day of your water heater installation appointment.
Upon arrival, our technicians will first present their identification and conduct an initial walkthrough to assess the scope of work. Once you give your approval to proceed, the installation will commence.
For a typical tank-to-tank installation, where we are replacing a gas or electric water tank with a similar model, the process usually takes approximately two to three hours. This includes about 45 to 60 minutes to drain, disconnect, and remove the old water heater. The positioning of the new unit takes roughly 30 minutes, and an additional 45 to 60 minutes are spent securing the new connection points and ensuring that all functions meet the required codes.
While we strive to complete the installation in one visit, occasionally, unforeseen circumstances may arise, and in such cases, your service provider may need to return the following day to complete any outstanding work. Rest assured, we prioritize a seamless and efficient installation experience to minimize any inconvenience.

Water Heater Repair Solutions Medicine Hat
At Medicine Hat, we provide comprehensive water heater repair solutions, restoring hot water efficiently while extending the life of your system.
Leaking water heater – what should I do?
- Locate the leak
- Turn off electricity or gas
- Shut off the water supply
- Call One Stop HVAC for professional assistance
Running out of hot water – common causes
- Undersized water heater
- Sediment accumulation
- Thermostat issues
- Faulty heating elements
- Worn pipes/valves
- Unit over 10 years old
Water heater maintenance schedule
Annual servicing with tank flushing helps maintain efficiency and prevent costly issues.
Consequences of not flushing a water heater
Sediment buildup reduces efficiency, can create noise, and damage your system. Follow proper flushing steps.
Signs your water heater needs replacement
- Rusty or dirty water
- Low hot water supply
- Tank leaks
- Unusual noises
- Water heater older than 10 years
- Frequent repairs
- Sediment buildup
Gas Line Installation Medicine Hat
At One Stop HVAC, we pride ourselves on offering expert and professional gas line installations in Medicine Hat. Our team of licensed professionals have years of experience, ensuring a seamless and efficient installation process. We offer 24/7 appointment availability, so give us a call to schedule your appointment today!
Why is it important to hire professionals for gas line installations?
It is really important to ensure that you hire a licensed professional to install your new gas line. Here are some of the reasons why:
Safety: Hiring a licensed gas line technician ensures that your gas line system is installed and maintained properly, greatly reducing the risk of accidents and ensuring the safety of your family and property.
Efficiency: Professional gas line technicians can optimize the performance of your gas appliances and fixtures, leading to improved energy efficiency and lower utility bills.
Durability: With expert installation and maintenance, your gas appliances and fixtures are likely to have a longer lifespan, saving you from premature replacements and costly repairs.
Cost Savings: By improving the overall efficiency of your gas system, professionals can help you save money in the long run by reducing energy consumption and identifying areas for further improvements.
Compliance: Licensed professionals ensure that your gas line installation meets all local and national codes and safety regulations, keeping you in adherence to standards and preventing potential problems and fines.
Investing in professional gas line installations is a vital step in maintaining a safe, efficient, and compliant gas line.
How long does a gas line installation take?
The duration of a gas line installation varies depending on several factors, all of which are carefully considered by our team of experts at One Stop HVAC. Factors influencing the installation timeline include the complexity of the project, the size of the property, and the specific requirements of the installation.
For simpler gas line installations in smaller properties, the process can often be completed within a few hours. However, for more intricate projects or larger properties, the installation may take several days to ensure precision and safety.
Do I need a permit for my new gas line?
Yes, all plumbing and gas installations in Medicine Hat require permits, including those for renovation work. Whether you’re installing a gas line for your home or a construction site, obtaining the necessary permits is essential.
For homeowners who are Alberta certified journeyman gasfitters and working on a single-family residential home, they have the option to apply for a gas permit. The homeowner applicant must reside, or intend to reside, at the location where the work will be carried out, and they must apply in person with proof of their qualifications. On the other hand, if you’re not a certified gasfitter, you’ll need to hire a professional who meets the qualifications to perform the installation and acquire the permit on your behalf.
Becoming a master gasfitter typically requires 6-7 years of experience, ensuring that only qualified professionals are handling complex gas installations.
It’s important to remember that permits are necessary for installations involving propane, natural gas, and heaters on construction sites as well. The City of Medicine Hat‘s safety codes officer will conduct an inspection to ensure that the conditions are safe and the installation complies with all the required safety standards. Skipping the permit process can result in fines, delays, and safety hazards, so it’s always best to follow the proper procedures and work with licensed professionals.
What materials are used for gas line installations?
Gas line installations require the use of approved materials to ensure safety and compliance with local codes and regulations. Here are several types of materials commonly used for gas work:
Steel Pipes: Steel pipes are a reliable choice for above-ground gas lines, provided that corrosion from the environment and the conveyed gas is not a concern. Inside buildings, steel pipes and copper pipes are the most frequently used materials.
Copper Pipes: Copper pipes used in gas systems should be of type L or K and specifically approved for gas applications, ensuring durability and gas-tight connections.
Yellow Brass Pipes: In certain cases, yellow brass pipes may be approved for gas line installations within buildings, offering an alternative option where suitable.
Aluminum Pipes: While aluminum pipes are occasionally used for gas lines, it’s essential to note that their usage is not universally approved across all jurisdictions. Caution must be exercised, especially when considering burying aluminum pipes, as they may not be suitable for underground work.
Ductile Iron: Ductile iron pipes may be approved for underground gas line installations in some jurisdictions, offering a durable and resilient option for specific applications.
PVC Pipes: PVC (Polyvinyl Chloride) pipes are suitable for gas pipelines buried outside of buildings. They are known for their corrosion resistance and ease of installation.
PE Pipes: PE (Polyethylene) pipes are another approved choice for gas pipelines buried outside buildings. They are highly resistant to environmental factors and offer excellent performance over the long term.
Flexible Connectors: Flexible connectors play a crucial role in connecting gas appliances to the gas source. It is essential to use approved flexible connectors to ensure safety and prevent leaks or other potential hazards.
What safety measures are taken during gas line installations?
Gas line installations involve several critical safety measures to protect employees and prevent hazardous conditions. Here are the key safety practices:
Frequent Safety Training: Regular safety training sessions are conducted to raise awareness and instill a safety-conscious mindset among all employees. Compliance with national standards and industry guidelines is ensured during training.
Corporate Safety Culture: Employers foster a safety-first culture where the well-being of employees takes precedence over work tasks. Employees are given the authority to stop any unsafe procedures they encounter.
Proper Pipeline Excavation: Stringent procedures for pipeline excavation are followed, including proper equipment servicing and adequate training for operators. All underground utilities are identified and marked before commencing excavation.
Appropriate PPE Usage: Employees are required to use appropriate Personal Protective Equipment (PPE) to mitigate risks while working with pipelines. This includes safety goggles, hard hats, safety boots, and gloves.
Training for Machinery Operators: Workers operating heavy-duty machinery undergo thorough training and are well-versed in the correct procedures for job site practices.
Regular Tool Inspection: Tools used onsite are regularly inspected to ensure they are in safe working conditions. Defective or worn-out tools are repaired or replaced promptly.
Proper Handling Techniques: Correct handling procedures are followed when working with heavy equipment like pipelines, and mechanical aids are used to prevent injuries.
Maintain Correct Pressure Testing: Pipelines are not operated beyond their Maximum Operating Pressure (MOP), and proper pressure testing procedures specified by manufacturers are followed.
THE ONE-STOP WAY TO PROCEED
Our Process
01. WHOLE-HOME ASSESSMENT
Our technicians use the latest diagnostic equipment to ensure transparent suggestions, ensuring maximum energy efficiently in your home.


02. CREATE HOME PLAN
We believe in being transparent with our clients, taking a collaborative approach to create HVAC plans that cater individual requirements.
03. ENHANCE YOUR PERFORMANCE
Whether it's a minor repair or the installation of a new appliance, our goal is to help you achieve long-term cost-effective results.


04. TEST AND MEASURE
Before we finish we conduct finial testing to ensure your appliance is operating to the best of it's ability.
Servicing Medicine Hat, Alberta and nearby